The Concept
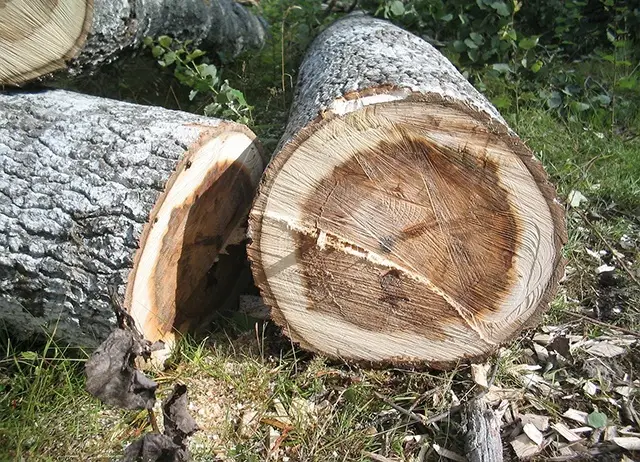
The true results of felled trees can be found at the stump. The most important aspect is the hinge, especially the hinge length and width which controls the direction of the fall.
The trick to establishing a good hinge is first of all creating a face notch followed by a back cut into the hinge position.
Planning and Tree felling Safety
When felling trees, planning and safety are two of the most important elements to consider before starting any cutting.
Step 1: Obstacles and Hazards
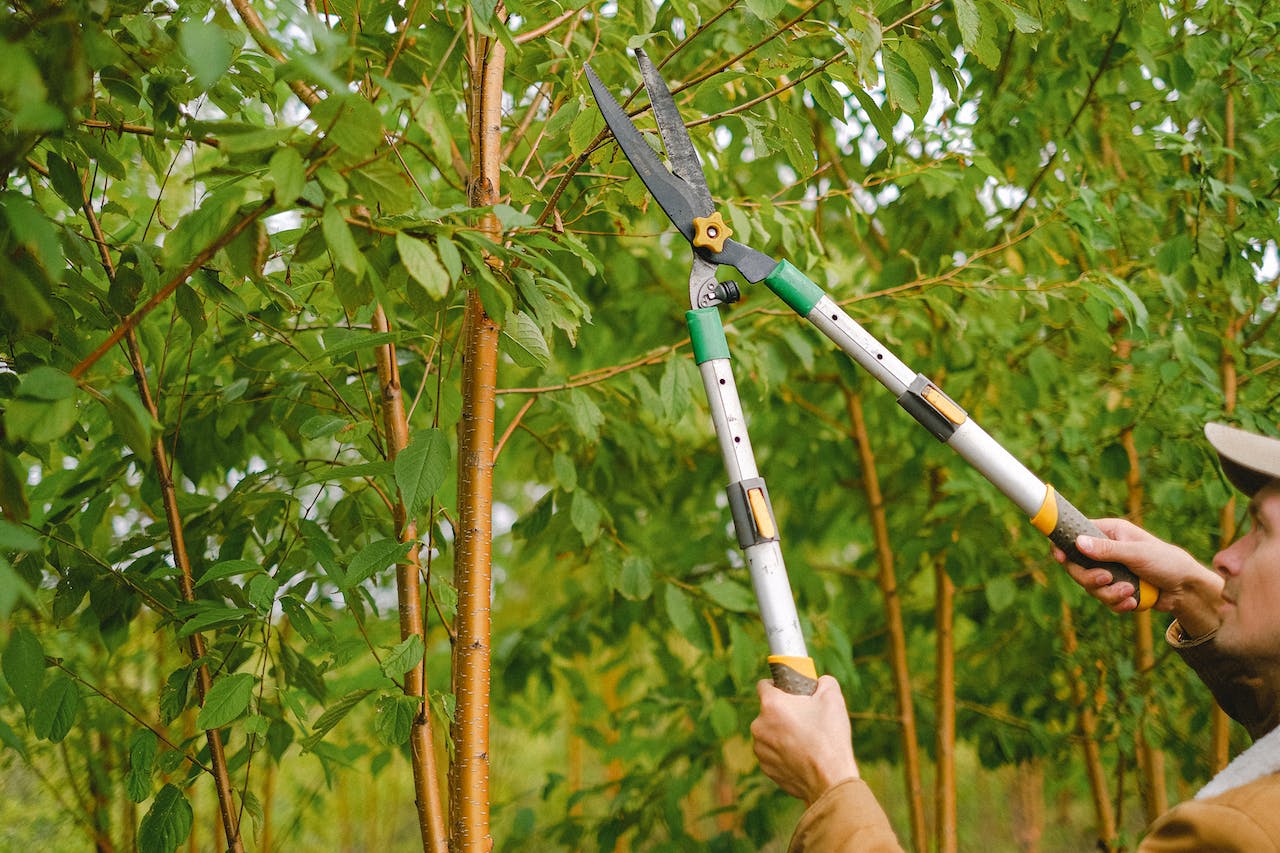
First of all you should identify any potential obstacles or hazards on or around the tree you are planning on bringing to the ground. Check if there is deadwood or other obstructions on the tree; if that is the case they should be removed. Inspect the surrounding area to ensure there are no obstacles like houses, power lines or other trees.
Tip: Marker flags can act as good reference points for the direction you want the tree to fall.
Step 2: Tree Lean
It is really important to establish the lean of the tree in relation to the position to which you want it to go. The lean should be to the left side relative to the operator’s position. To make the measurement, start at the farthest limb of the crown on both the left and right sides, then take half of that distance, and finally plum into the ground.
After establishing the side lean, the next thing to determine is whether the lean is more to the front or to the rear of the tree.
From a position of 90° to the side, check if there is a lean in the direction of the target or away from it. We can use the same method as establishing the lean from the target; take the farthest limbs in both backwards and forward facing directions, then take half of that distance, and lastly plum into the ground.
Step 3: Plan Your Path of Retreat
Planning an escape route is a hugely important step that should never be overlooked! You will want to retreat in the opposite direction from the lean side of the tree, for a minimum of 15 feet (depending on the size of the tree being felled).
Tip: Identify potential trip hazards and remove these from your escape path so you can make a hasty retreat without falling over.
Step 4: Hinge and Face Notch
Now you need to establish the hinge. In order to achieve this, you need a face notch so the hinge will work correctly. The face notch should be 70° open and approximately 80% of the tree diameter.
The face notch should have one cut from the top and one cut from the bottom to form a 70° opening (this should be the minimum). Once the notch is cut, check if the angles are correct.
The hinge should be about 10% of the tree diameter, behind the notch.
Step 5: Back Cut
To establish the hinge, we need to make a back cut. The back cut should start at the corner of the face notch; occasionally even a bit higher.
Using wedges at the rear of the tree, or pulling ropes is a good idea to stabilise the weight of the tree.
Safety Tip:
Before firing up your chainsaw, as an operator you need to understand the reactive forces:
You will get a push back reaction when cutting on top of the bar
It will feel like the chainsaw is being pulled away from the operator when cutting on the bottom
You will feel rotational kickback with any contact or pinch on the tip of the chainsaw
If you must use the tip of the chainsaw, ensure to understand the reactive forces at play. As such, the best place to start with is the lower corner pulling chain.
Step 6: Wedge and Cut:
For safety reasons, it is best to place a wedge at the back of the tree to support the weight. This helps to support the tree so it is not sitting back on top of the saw.
Now you can go ahead and make the final cut, clip the back of the strap off, drive in the wedge, and then finally make your retreat following the path you planned earlier.
If all steps have been carried out successfully, the tree should fall and land within its intended target zone.
Step 7: Check the Results:
After the fall, it is important to analyse the results which helps you gain more experience and get a deeper understanding of tree felling.
The results boil down to three tree surgery concepts:
– Notch
– Hinge
– Back Cut
Note the importance of understanding the release and pivot point.
Final Tips and Felling Advice:
A 45° face notch causes trees to move in a way which stresses the hinge and forces it to give-up. This results in uncontrolled tree falls.
A notch which is 70° to 90° allows trees to fall over and down to the ground before the hinge becomes stressed. As such, you can move at your pace, have better control over the direction of the fall, and there is also more reaction time to execute escape plans.
If in doubt, contact a tree surgeon for expert advice and a free consultation. Our team are experts at performing safe tree removal services around Aberdeenshire and Moray.
Found this article helpful? Leave us a review!